Grasshopper Tutorial 2: Climate Analysis
In addition to being a great iterative design tool, Grasshopper for Rhino can produce beautiful climate analysis diagrams. This tutorial will walk you through creating a wind rose, psychometric chart, and a 3D sun path using Ladybug in Grasshopper. (Why all the animal names? I really really don’t know…) Grasshopper climate analysis is an easy way to add a level of professionalism and customization to your architecture projects.
If you are unfamiliar with Grasshopper, check out my basics tutorial here first.
Step 1: Install Ladybug
Ladybug is a plug-in for Grasshopper that you can download here at Food4Rhino and follow the video on their website to install it.
Step 2: Download an .epw Weather File
You’ll need a .epw weather file for the location that you want to analyze. I like using EnergyPlus to get my weather data.
Step 3: Launch Ladybug
Open Grasshopper and start by double clicking in the canvas and typing “ladybug_ladybug”. If you connect a panel to it, it will give you a cute little “Ladybug is Flying! Vviiiiizzzz…” message so you know Ladybug is up and ready to go! DONT FORGET THIS because if you don’t have the “ladybug_ladybug” component, NONE of your ladybug components will work!!

Step 4: Set File Path
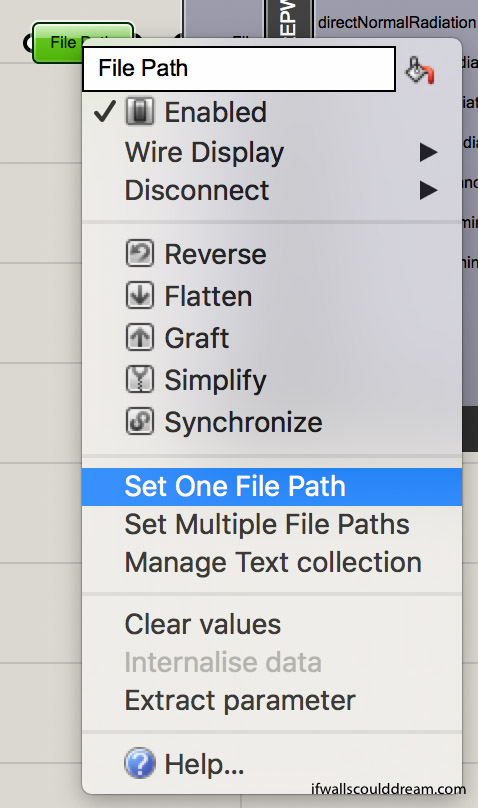
Next, add a “file path” component on the left side of your canvas. To link your .epw file, right click on the “file path” and select “set one file path” and then select the .epw file you just downloaded.
Step 5: Sun Path
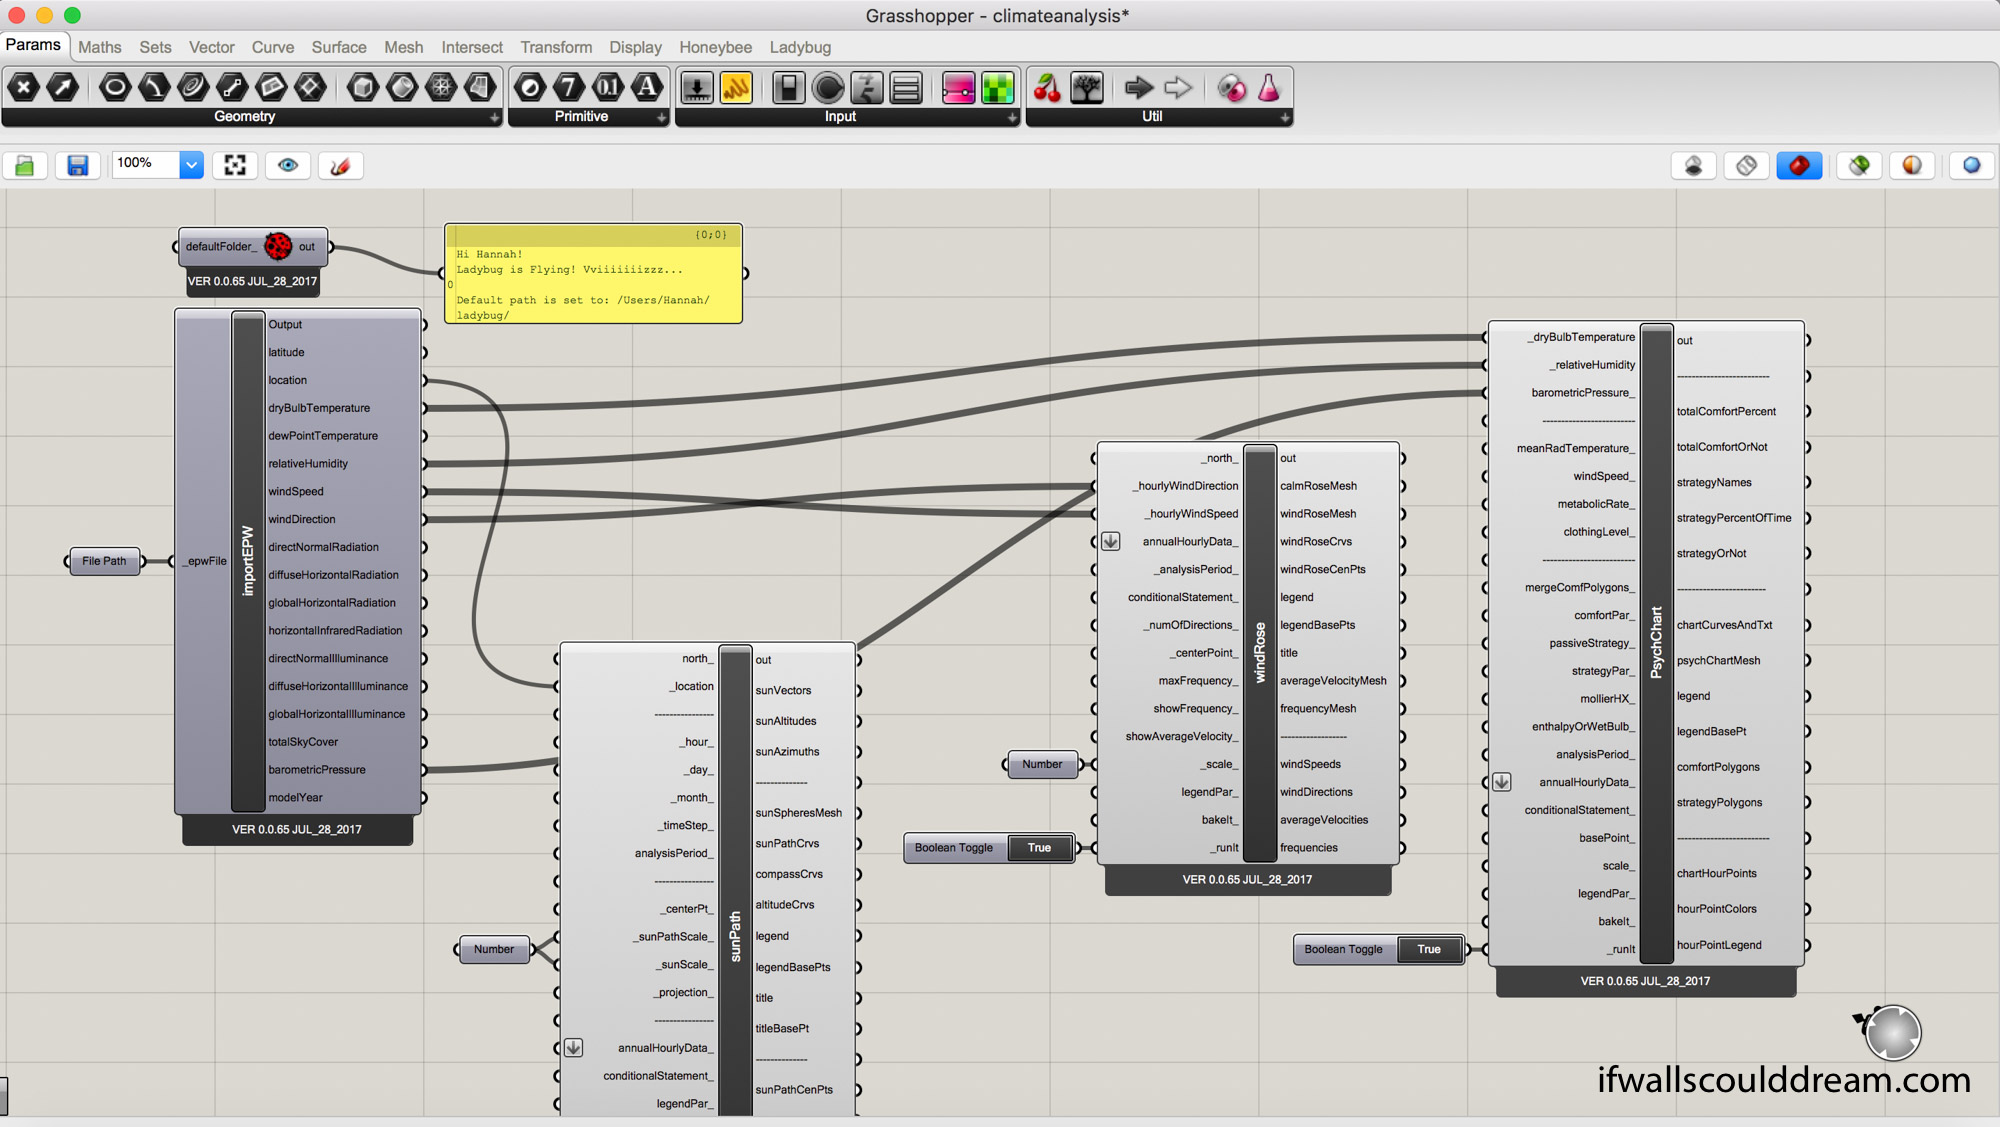
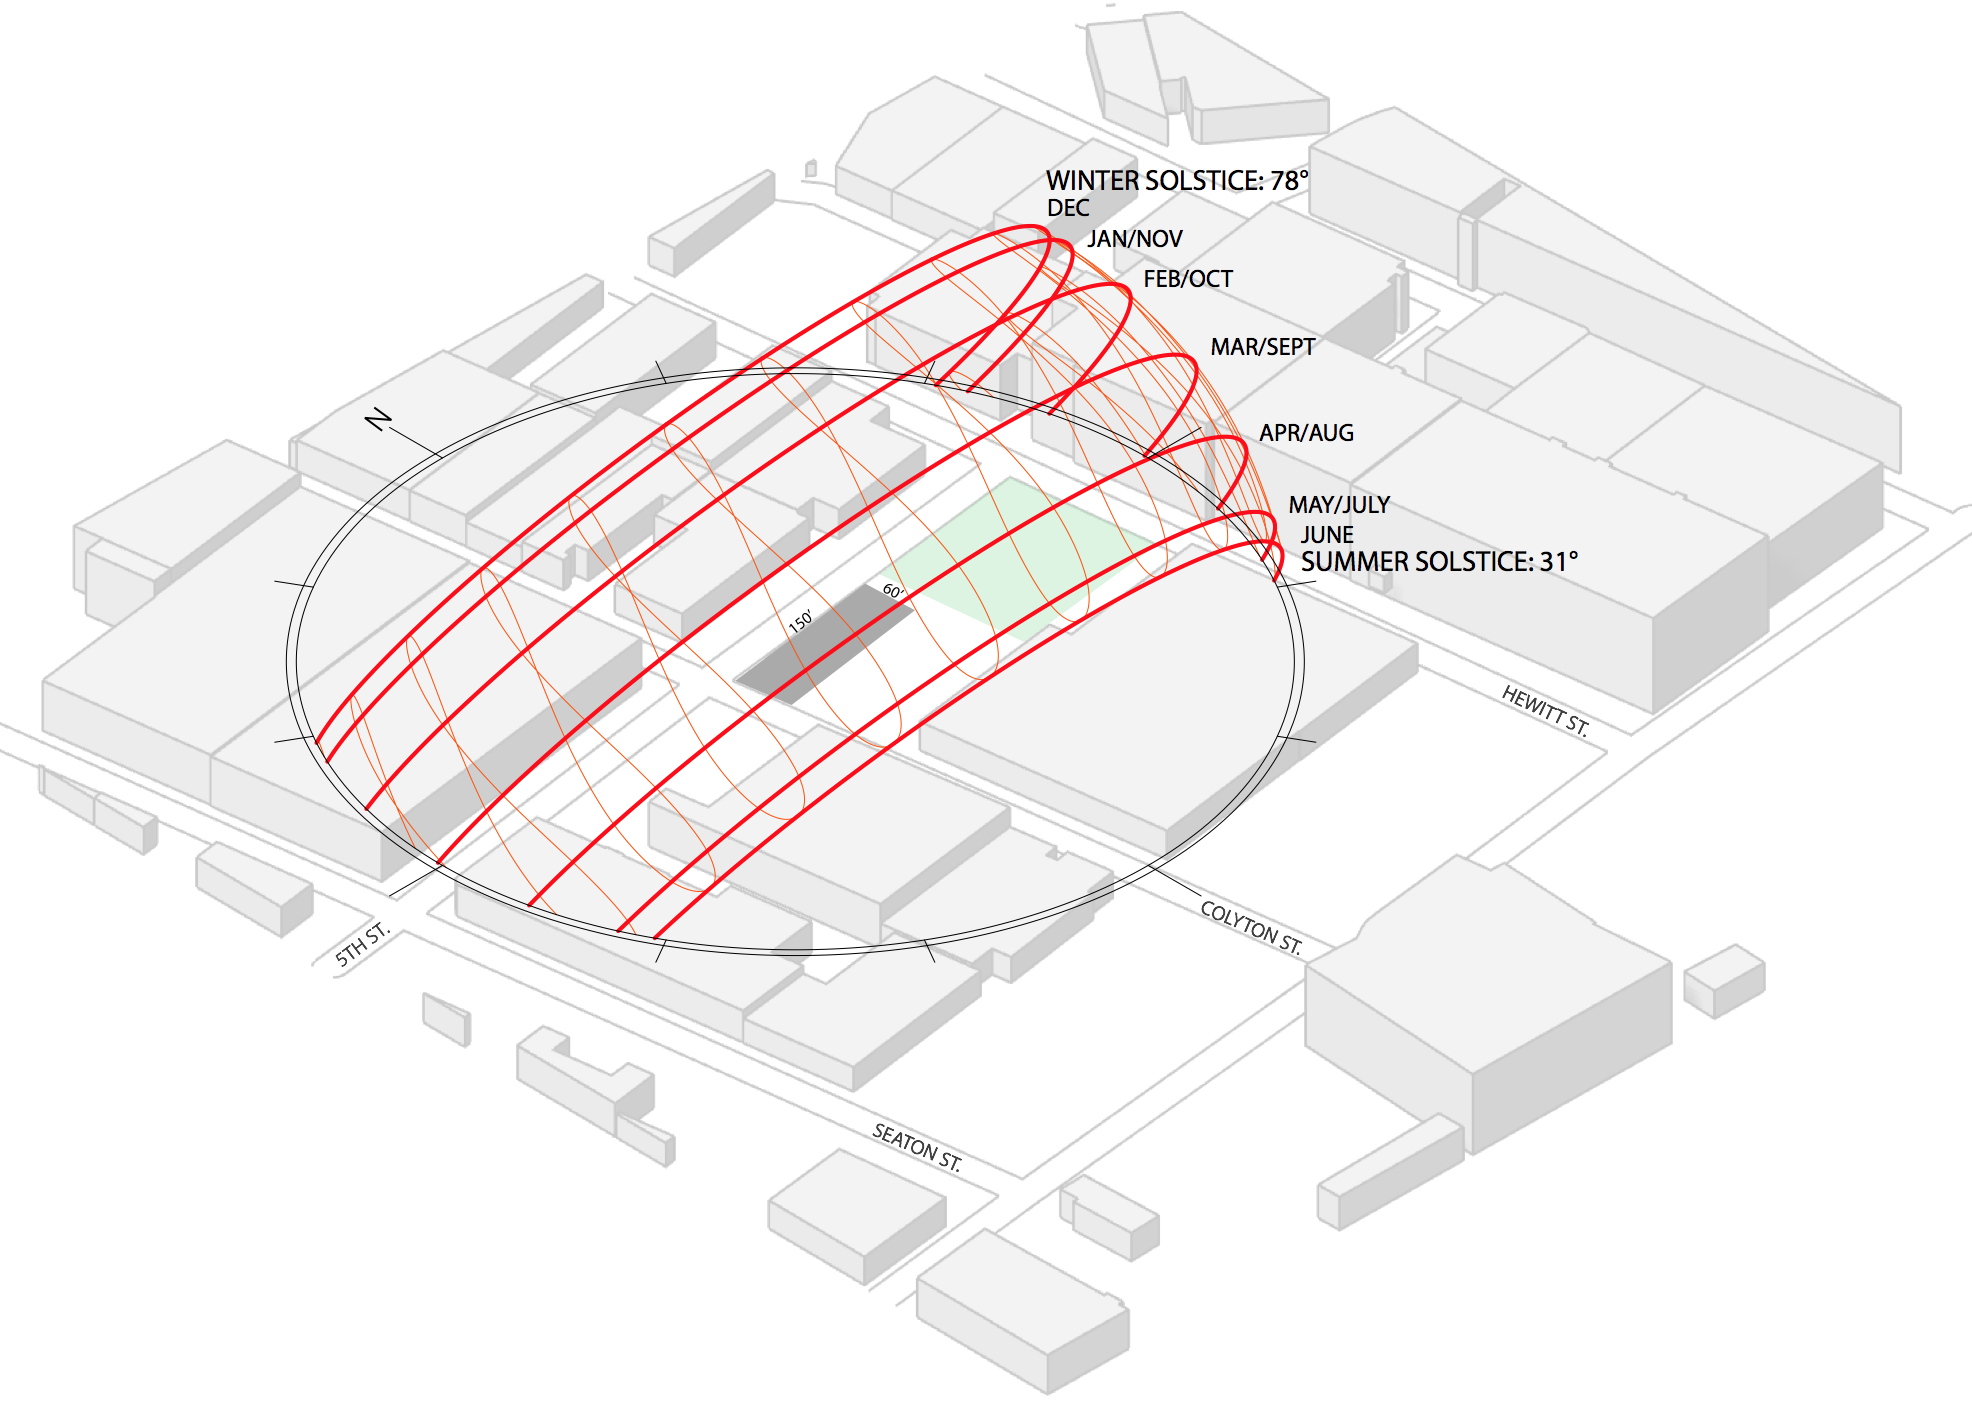
Add a “ladybug_import EPW” component connected to the “file path” and then add a “ladybug_sunpath” component. All you have to connect is the “location” from “importEPW” to “sunPath”. If you want to reduce the scale of the “sunPath” you can add a “number” component and set a number less than 1.
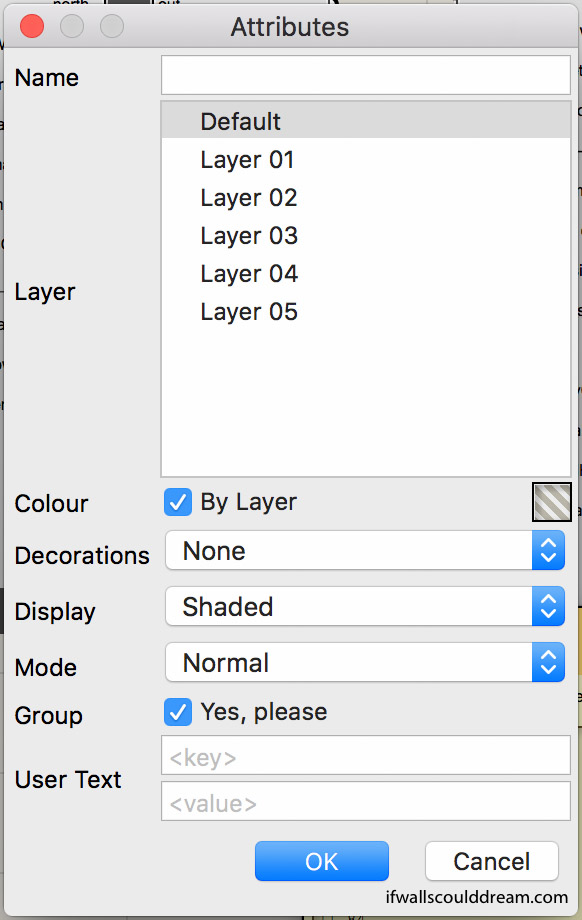
When you bake your ladybug components, I have found it useful to group them and make sure that the display is set to shaded.
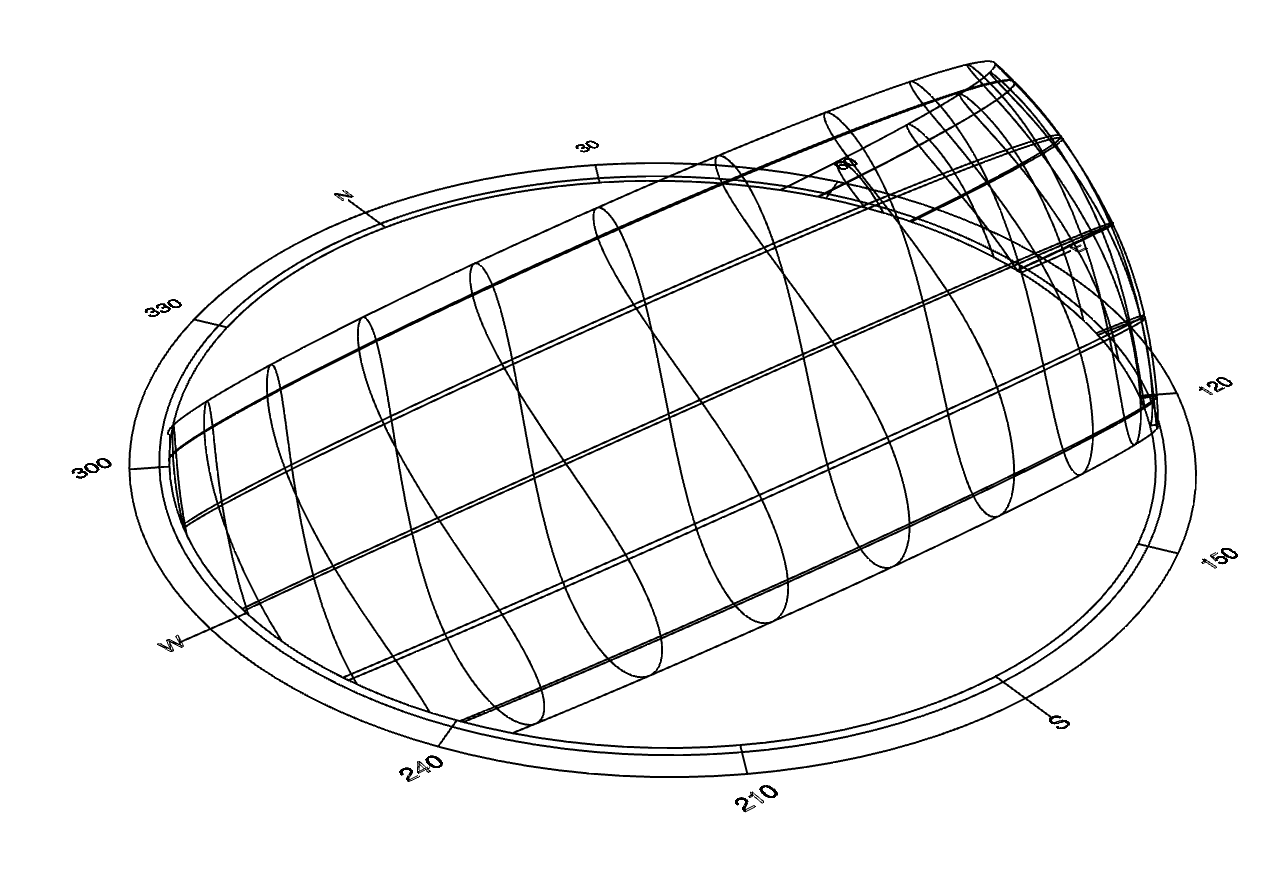
Here is what the Sun Path looks like when it’s finished:
You can add your own geometry or a render below it and put it on a site plan like this:
Step 6: Wind Rose
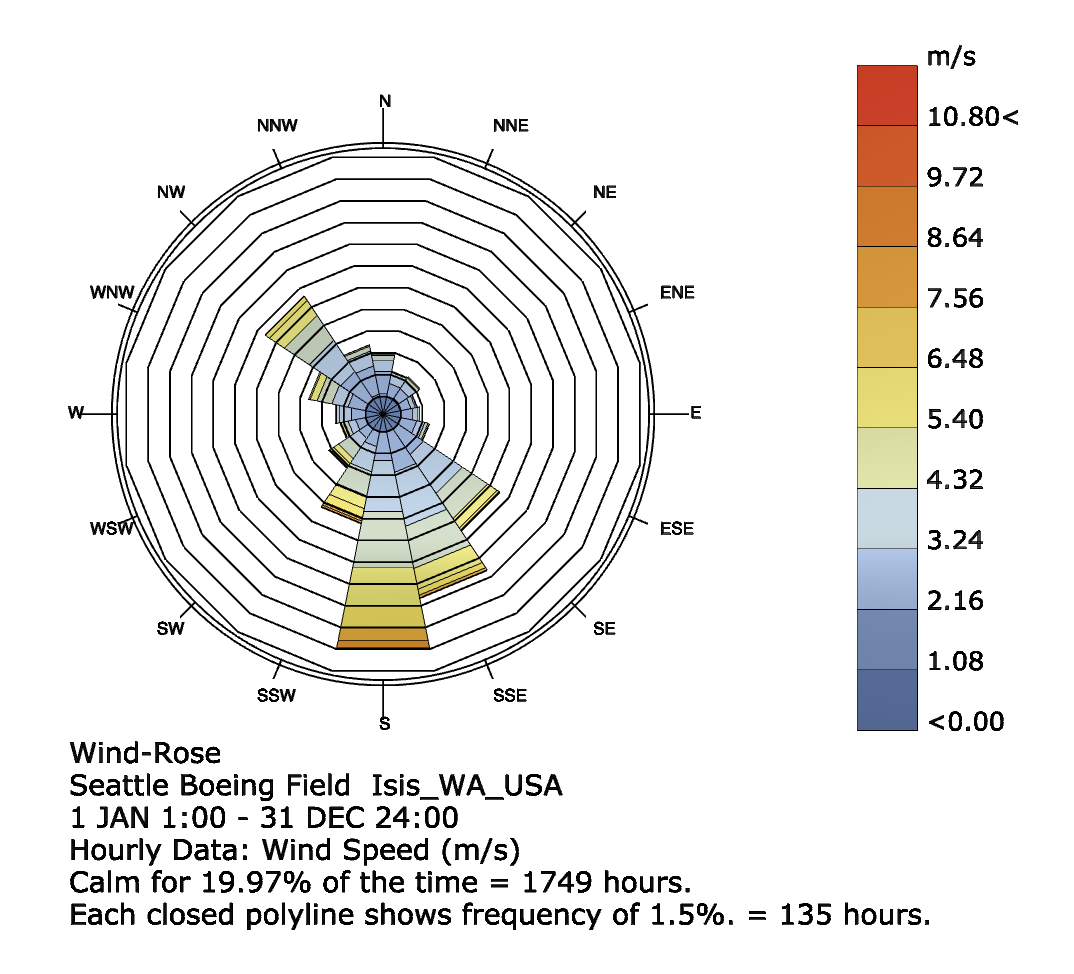
Add a “ladybug_windrose” component. Connect windSpeed and windDirection from “importEPW” to “windRose”. If you want to reduce the scale, you can add a “number” component and set a number less than 1. Add a boolean toggle to _runit and turn it to true.

This is what it will look like once you bake it:
Step 7: Psychometric Chart
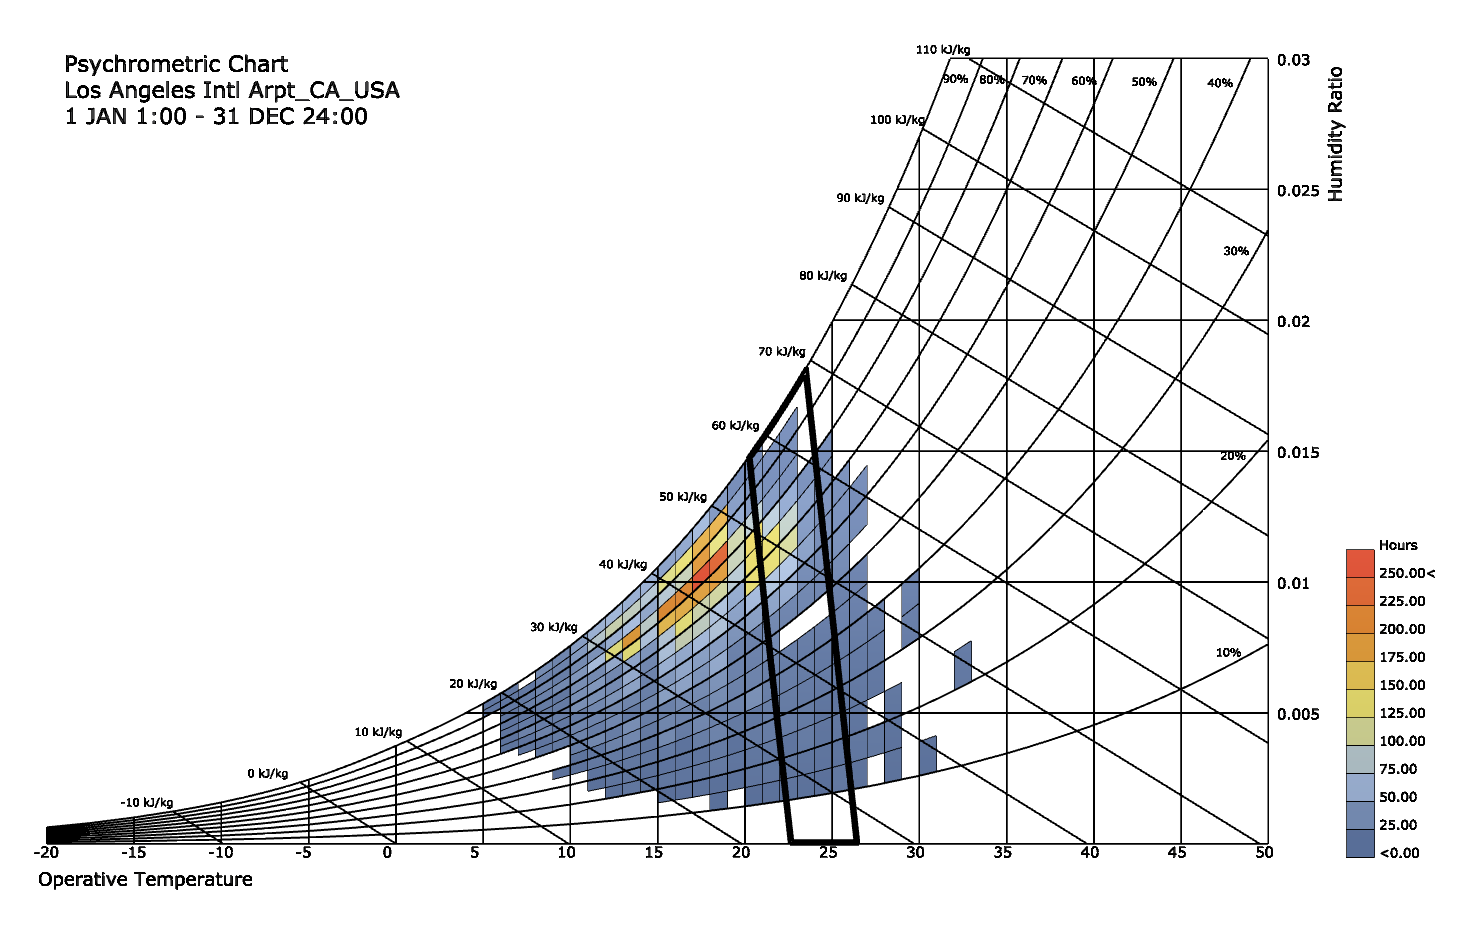
Add a “ladybug_psychChart” component. Connect dryBulbTemperature, relativeHumidity, and barometricPressure from “importEPW” to “PsychChart”. Add a boolean toggle to _runit and turn it to true.

This is what it will look like once you bake it:
If walls could dream… they’d dream of ladybugs and grasshoppers.
Grasshopper Tutorial: Basic Boolean Operations
Grasshopper is an algorithmic design tool in the 3D modeling software Rhino. (Why all the animal names? I really don’t know…) Here is a tutorial about how to get started modeling in Grasshopper.
Step One: Open Grasshopper
Type “grasshopper” into the command line in Rhino, a new window like this should pop up:
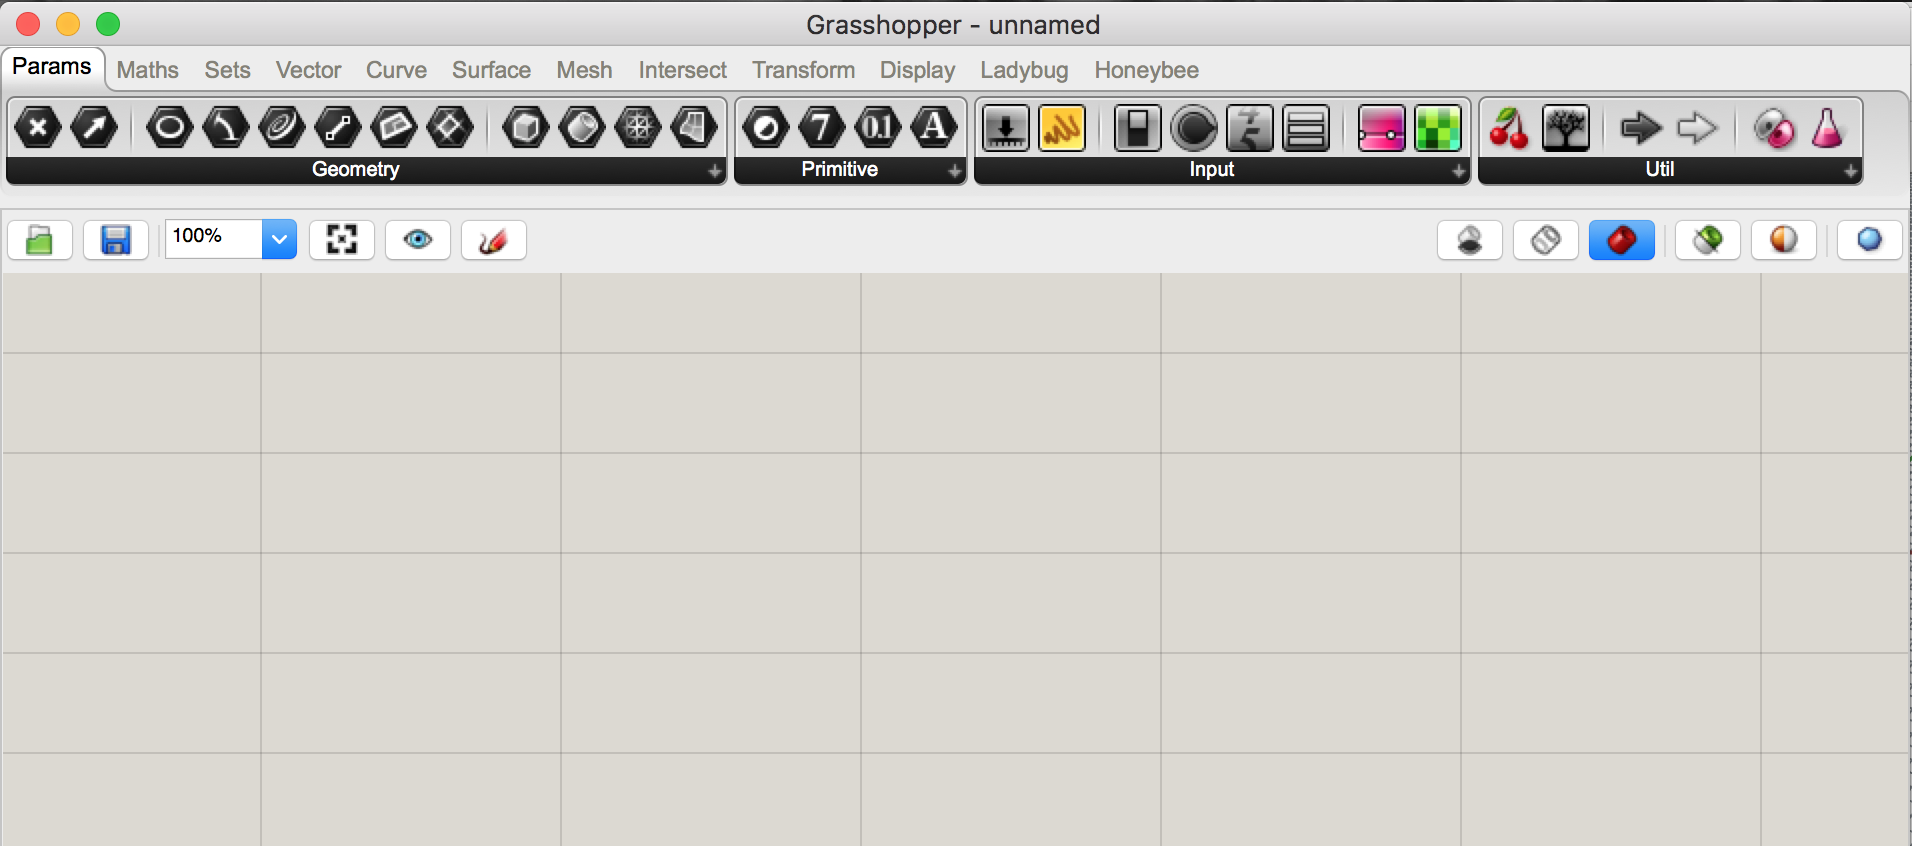
Grasshopper has lots of different tools you can use to alter the geometry you make in Rhino. Grasshopper itself doesn’t have any geometry, it’s just a way of writing unique instructions to alter your geometry in Rhino. Nothing will be saved in your Rhino file until you “bake” it, which is like exporting it from a Grasshopper preview into a Rhino geometry. Still confused? Check out the Grasshopper website, read along with my tutorials, check out this helpful tutorial, or go play with it yourself!
Step Two: Set Up the Display
Make sure the icons are off and the full names are on. This isn’t a major step but it’ll help you follow along the tutorial.
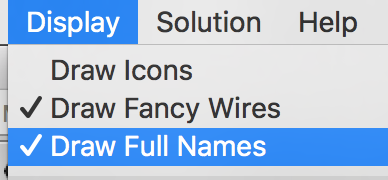
Step Three: Add Components
Double click anywhere on the canvas to get started. A search bar will pop up like this.
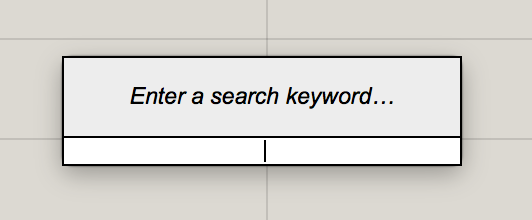
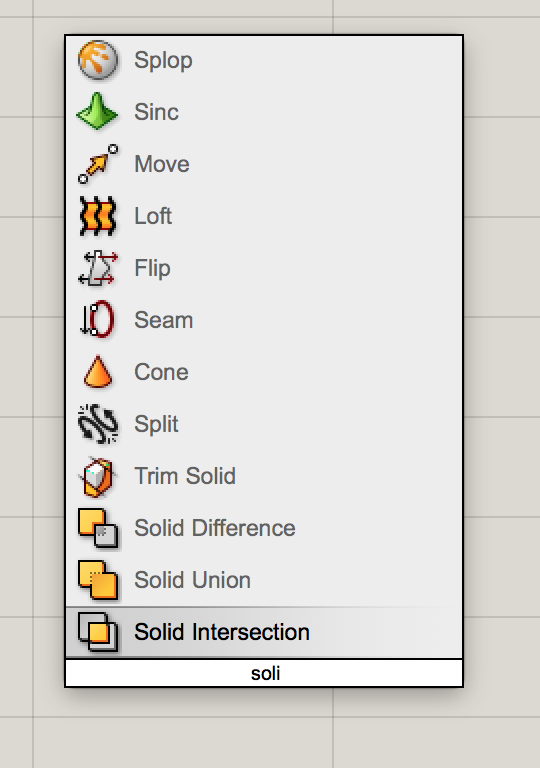
Type the name of the component you want to use into the search bar, for example I am using Solid Intersection.
If you want more information about a component, simply hover your cursor over it. The little orange flag at the top right corner is a warning that nothing has been plugged into it yet so it is not working. This makes problem-solving a larger string of components super easy!
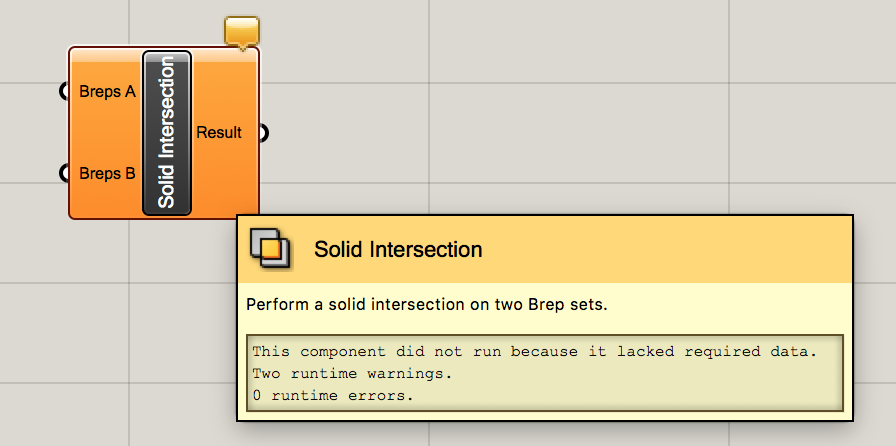
So, what’s a “brep”?
You might be wondering, what in the world is a “brep”?! Well, it’s a Boundary REPresentation, a collection of multiple trimmed surfaces. It’s what Grasshopper calls most of your basic Rhino geometry and it’s perfect for playing with boolean operations.
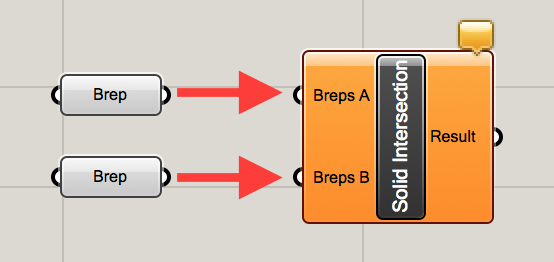
Add two breps to the canvas and “plug them in” to the breps A and B ports on the left side of the solid intersection component by clicking and dragging from the white half-circle on the right side of the brep to the white half circle on the left side of the intersection component.
Step Four: Link Geometry from Rhino
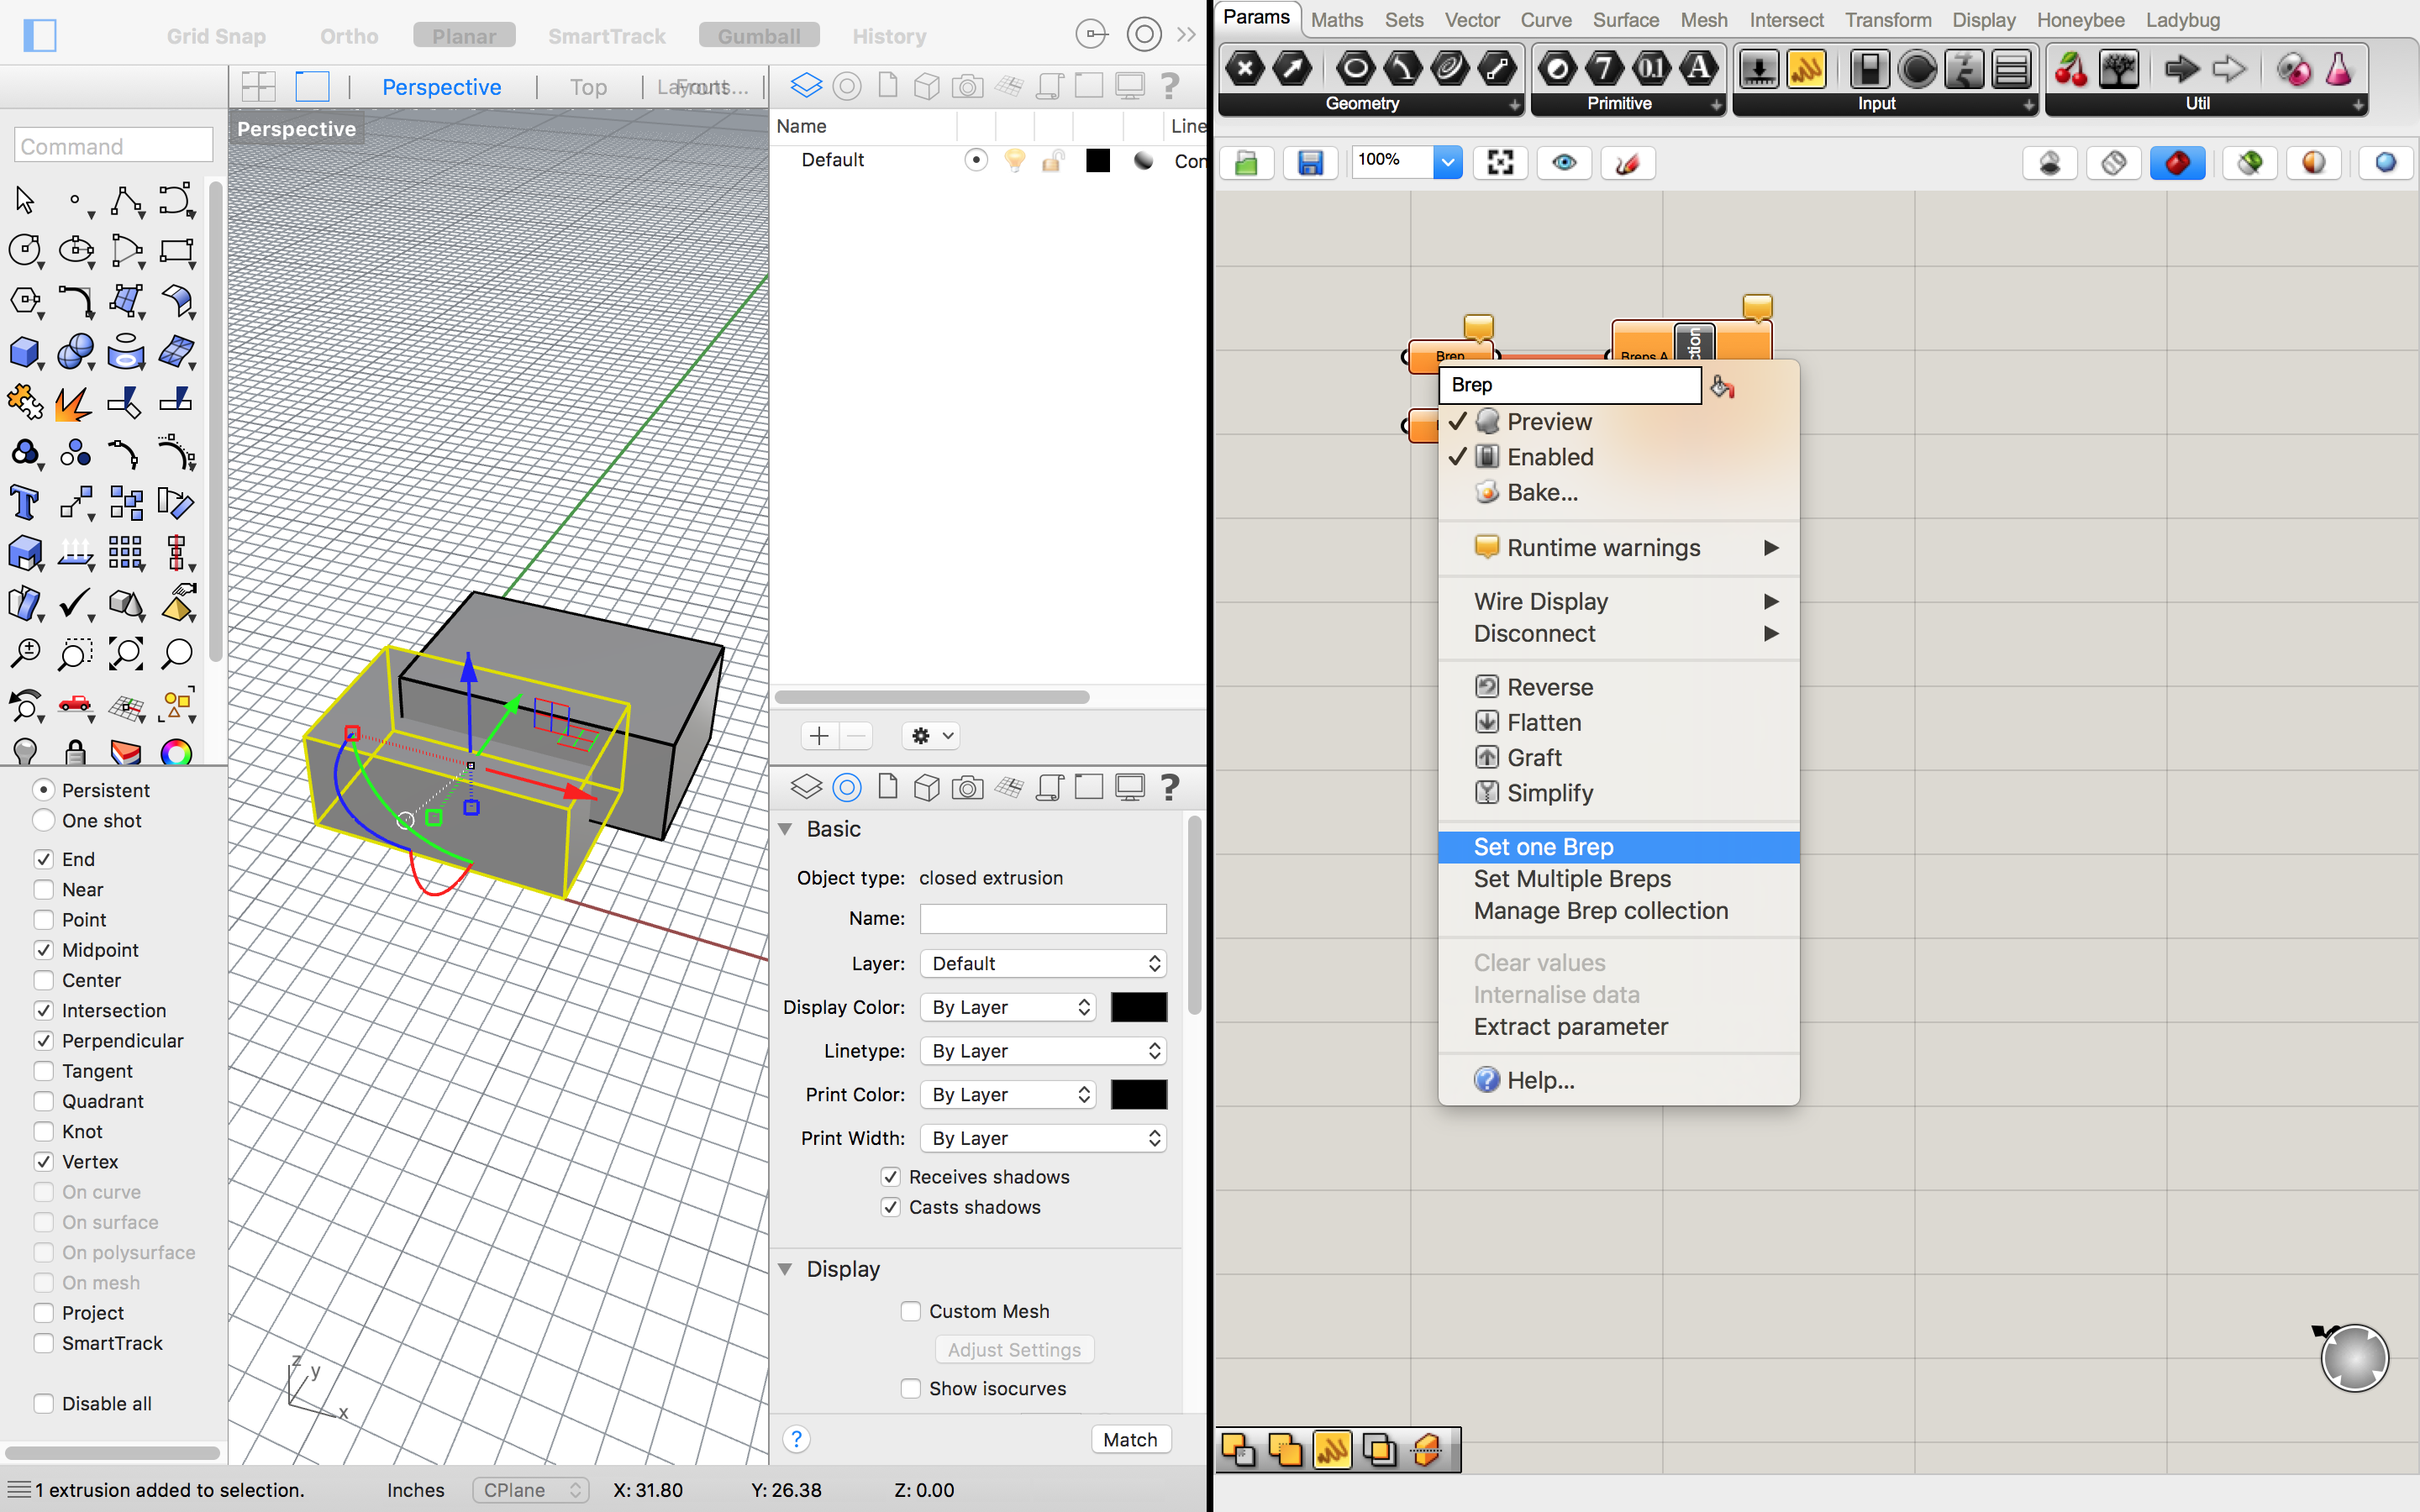
Link your geometry from Rhino to the components in Grasshopper. I am using two overlapping boxes in Rhino but this should work with any shape (as long as they are overlapping, for the intersection command). Select one of your boxes and then right click on the first brep and select “set one brep”. This should automatically link the selected geometry to that brep component. Then, select the other box in Rhino and right click on the other brep in Grasshopper and set that brep.
Step Five: Play!
Now is the fun part! You can play around with your shapes in Rhino until you’ve found a geometry you want to save. This makes it really easy to work iteratively and test out a lot of ideas really quickly. While we could do a boolean intersection like this in Rhino without using Grasshopper, we wouldn’t have the flexibility of making so many iterations so quickly.
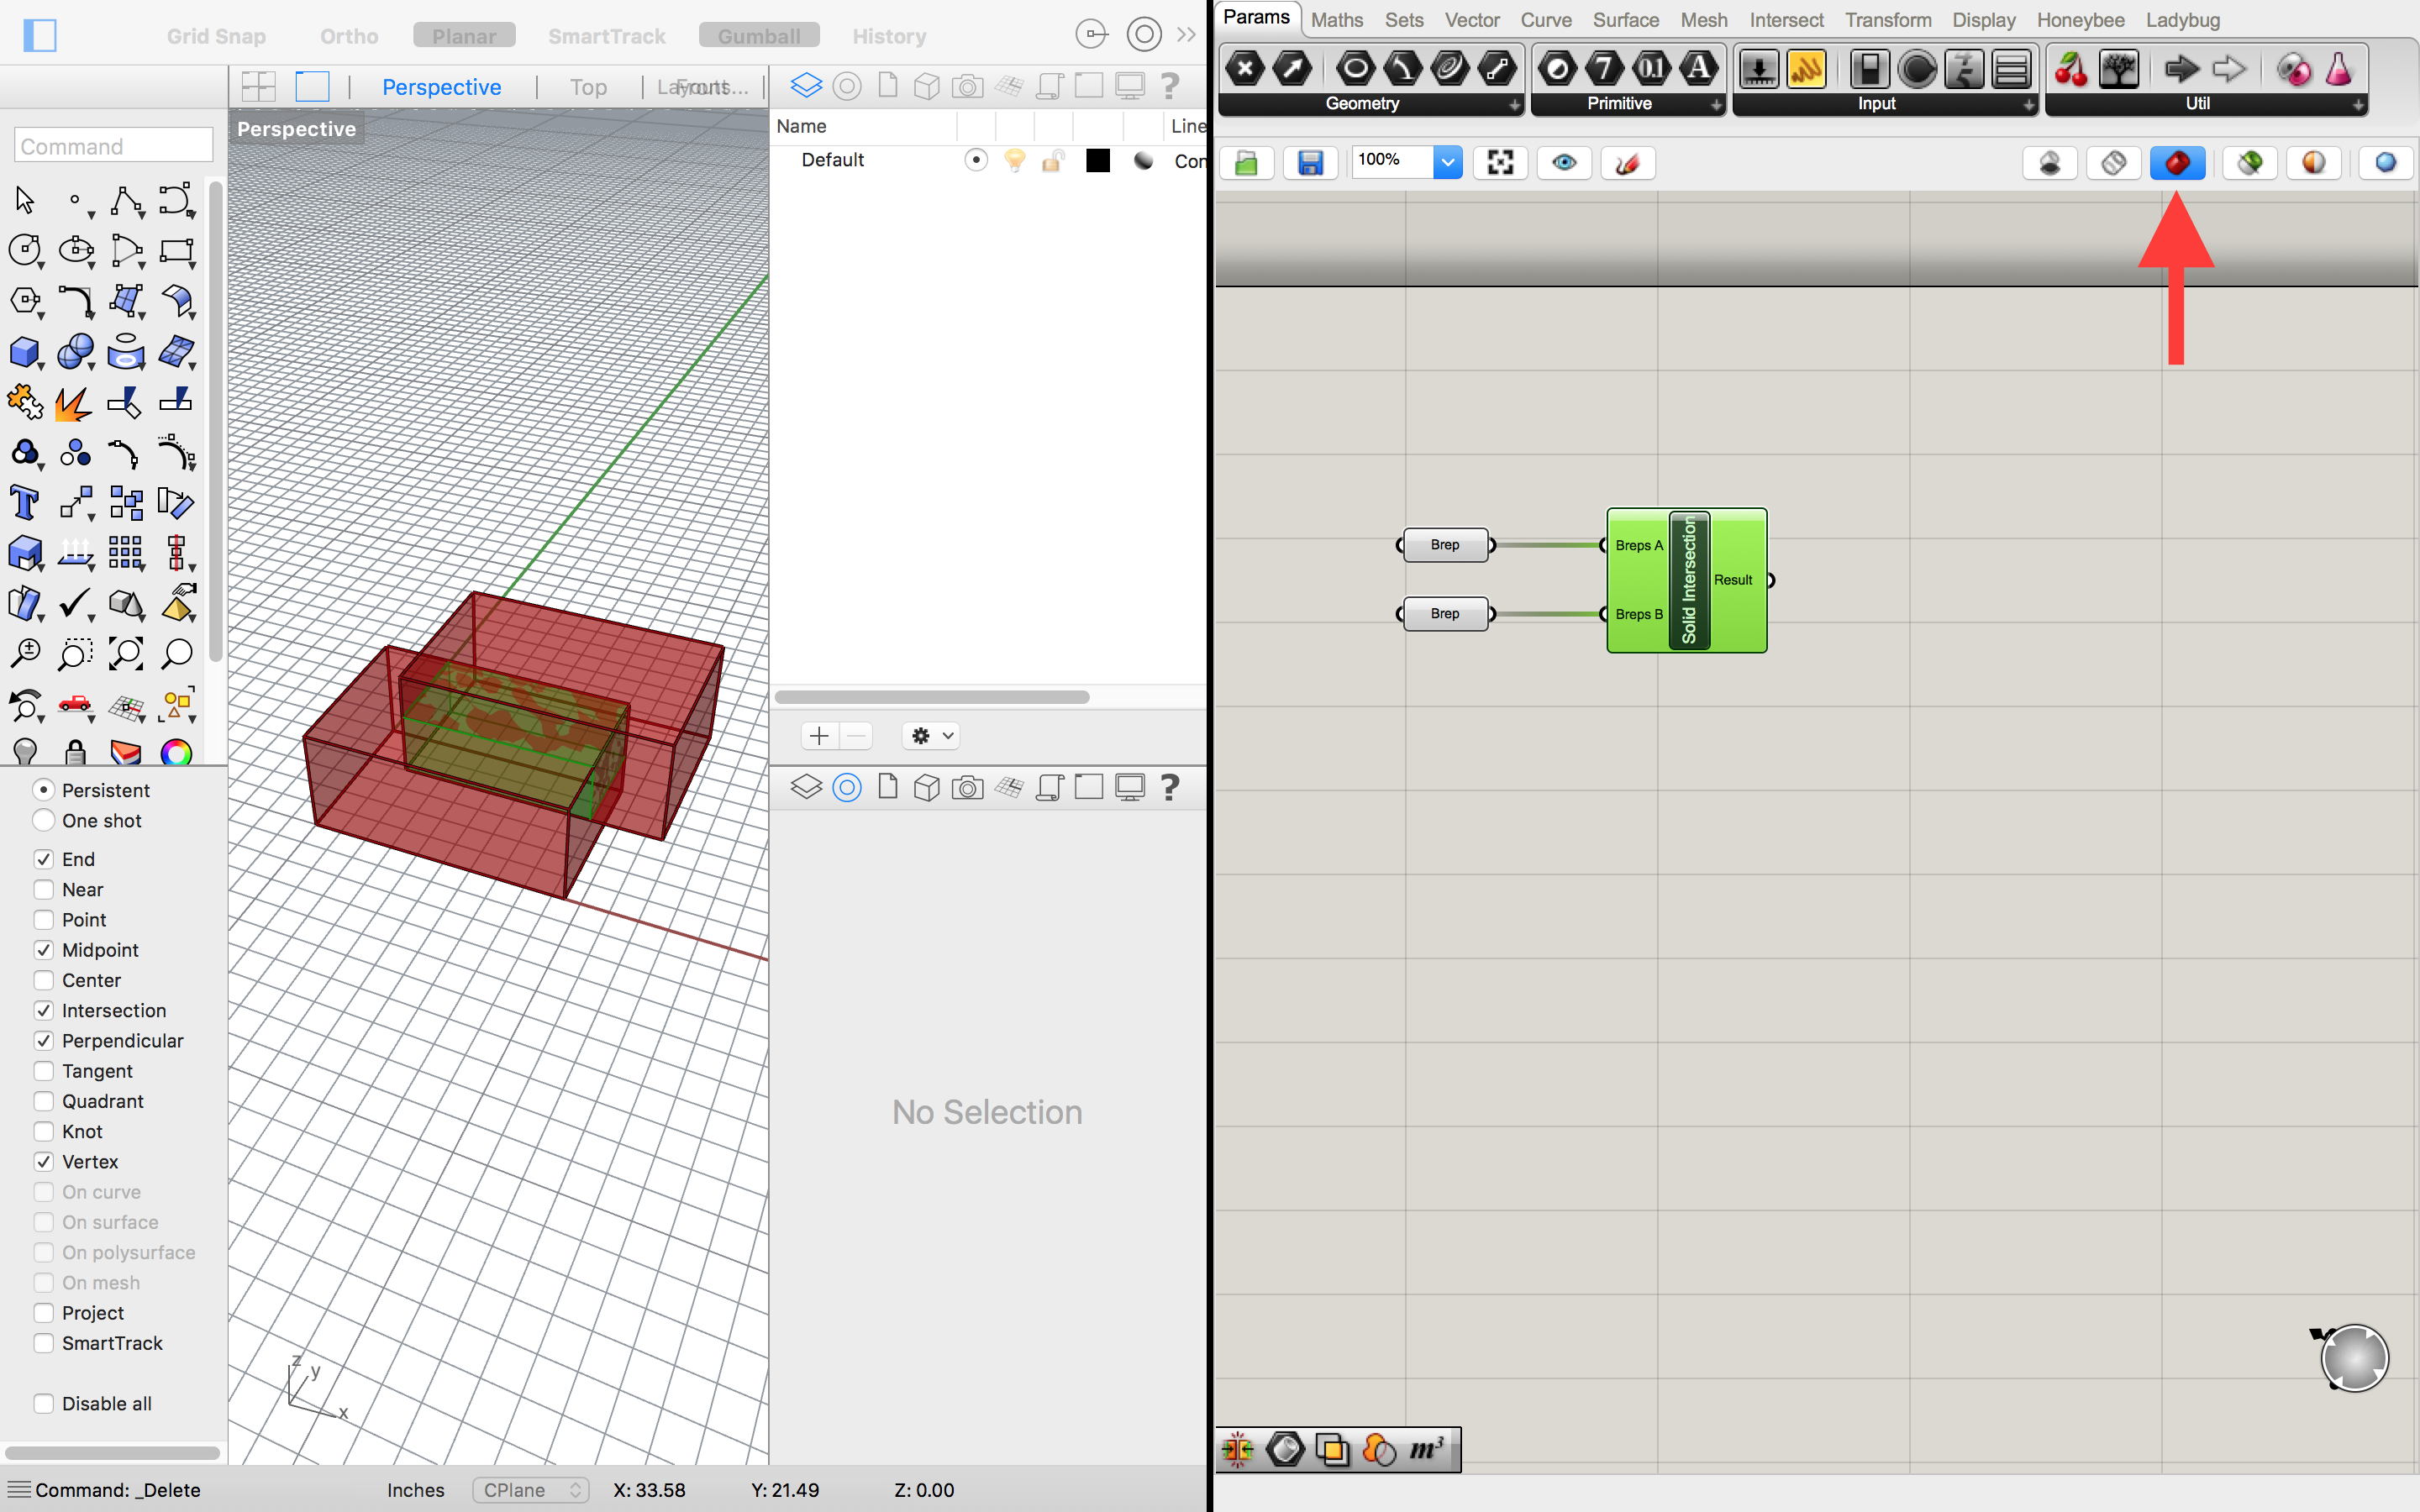
For this step, you want to make sure your Rhino view is set to WIREFRAME and you clicked the red icon on the upper left of Grasshopper, and that the final component in your train is selected. This will make your input geometry red and your Grasshopper result green! Now you can move the input shapes around in Rhino to see how that changes the output.
Step Six: Bake
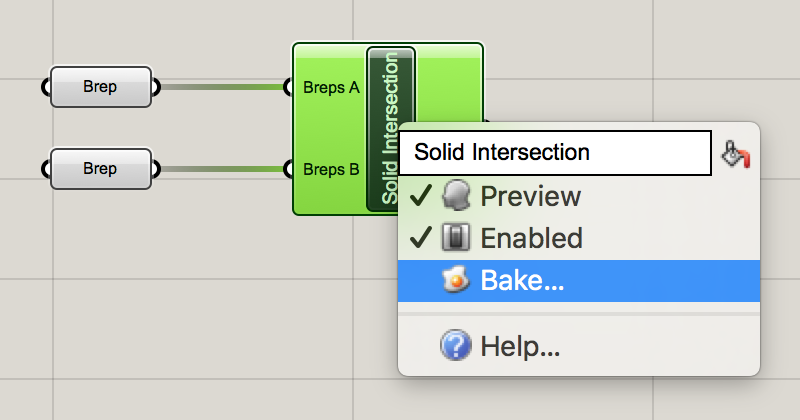
Once you have found a result you like, the final step is to “bake” the geometry, which is like exporting it back into Rhino. Simply right click on the Solid Intersection component and select “bake.”
Now your final geometry is in Rhino and it will be saved in your Rhino file after you close Grasshopper.
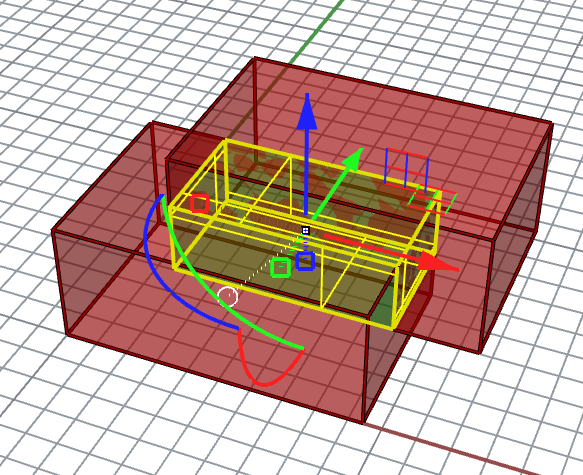
Additional Boolean Operations
If you want to do even more with basic boolean operations, try out this simple Solid Difference operation:
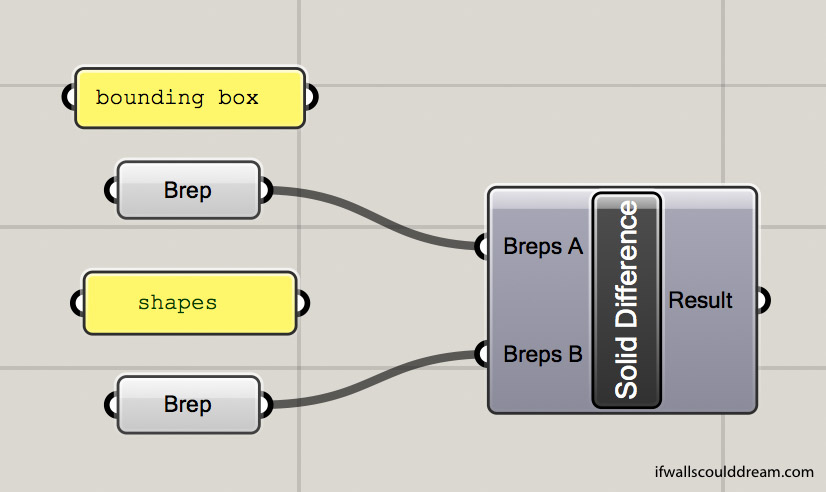
Want more of a challenge? Check out this Solid Union operation that calculates the percent by volume of the result as compared to the original bounding box:

This operation unions two shapes, intersects them with a bounding box, and then calculates the volume percentage (as a decimal, so this example would be 19%.
If walls could dream… they’d dream of playing with Grasshopper all day!
